In Mix’s February 2023 cover story, three-time Oscar-winning film re-recording mixer Paul Massey and acoustic designer Bruce Black discuss in-depth the creation of Massey’s dream 9.1.6. mix studio; the tale concludes here, followed by a look at the actual construction process. Don’t miss Part 1!
BRING YOUR OWN GEAR
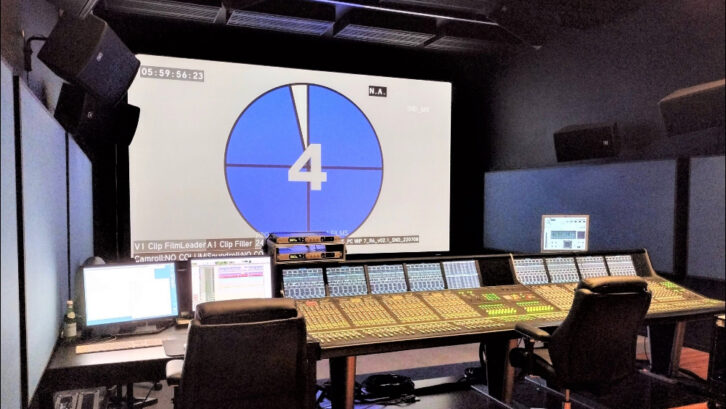
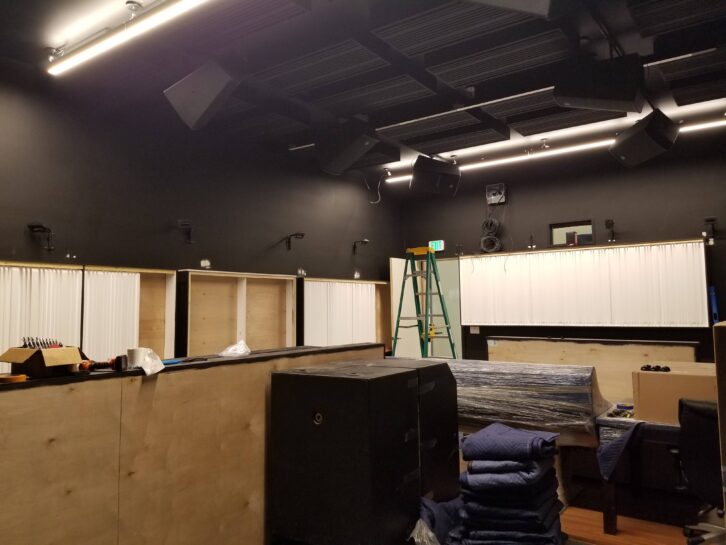
As when he built a mix room in 2010, Paul Massey worked with Audio Intervisual Design of Los Angeles on system integration, this time for 9.1,.6 Dolby Atmos Cinema and 7.1.4 for Dolby Atmos Home from the same playback system.
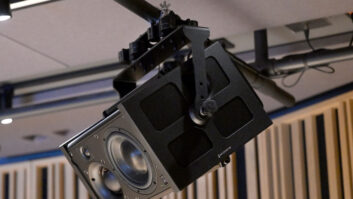
While the update included new cable and wiring, a new Dolby RMU software package, new HDX cards, software updates, and reconfigured monitor control and setup, the bulk of the equipment package was brought over from the Ojai studio, including the JBL and BMS Screen monitors, Meyer Sound subwoofers, outboard racks, Christie projector and a beloved Harrison MPC5 console.
“It’s my favorite console in the world; I’d never get rid of it,” Massey says. “I do mix on different platforms, and I do realize I’m swimming against the tide at this point because the S6 is everywhere, and that’s fine. I have no problem with that. The Harrison is just my personal choice. It’s the best sounding console I’ve ever found.”
Massey has certainly earned the right to work the way he wants, including traveling with duplicate MPC5 setups in flight cases—one for when he travels south to L.A., the other which he keeps in London. There’s no worksurface, but each does include the complete Toys package of plug-ins, and he’s had no problems interacting with alternate workflows and platforms.
With more than 200 films to his credit, along with 10 Oscar nominations for Best Sound Mixing and a win for Bohemian Rhapsody, Massey could be forgiven for kicking back a little and easing into a slower-paced life in Ventura, with family. Yet, in the past year alone, his work has been heard on films as diverse as The Lost City, Morbius, Dungeons and Dragons: Honor Among Thieves, Moonage Daydream (on this year’s Oscar shortlist) and Whitney Houston: I Wanna Dance With Somebody.
In October, he and Gary Rydstrom finished working on the new Indiana Jones film, to be released in June, and in December, he wrapped up Ridley Scott’s Napoleon, and he’s currently working on a musical version of The Color Purple. He doubts that he’ll ever actually retire.
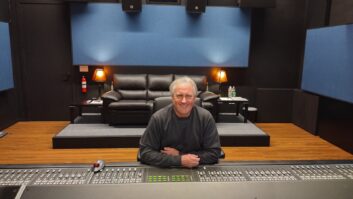
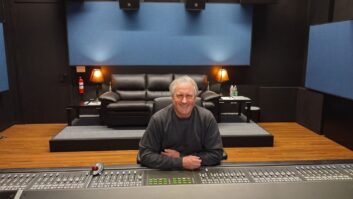
“I’ve done three projects out of my new studio, and I’m just really happy with the way it’s translating and the overall result—the size of it, the feel of it,” he says. “And honestly, it’s wonderful to be able to walk into a room like this and know that basically everything is exactly the way you left it. So yes, I’m happy.” Then he went back to work.
• • •
SIDEBAR: ACOUSTIC NUTS & BOLTS
In mid-2022, during the completion of Paul Massey’s mix studio, acoustic designer Bruce Black wrote an eight-part blog for mixonline. com detailing the design and construction process. Here are a few choice excerpts:
THE FLOATING FLOOR:
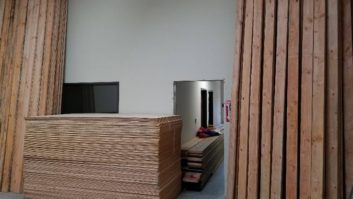
The project’s structural engineer had dictated a structure, built on its own foundation, outside of the mix room itself, to provide support to the inner room. California is earthquake country, after all. This also presented the opportunity to use the gold standard of studio isolation: a floating room- within-a room design.
So blue chalk lines were snapped onto the slab, marking the location and width of the new foundation, and the intrepid team fired up the concrete saw and commenced cutting two square slots in the slab, one inside the other, roughly 18 inches apart, and as close to the unit’s walls as possible. These kerfs marked the location of the outer structure’s new foundation. The jack hammer then broke up the concrete, and a Bobcat backhoe straddled the trench and dug it out to approximately four feet deep. Then came rebar, properly bonded to the remaining slab, and threaded anchors to hold the outer wall’s framing in place. Finally, the trench was filled with concrete, and voila! There was now a concrete slab where once there was only…a concrete slab.
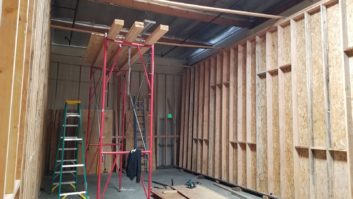
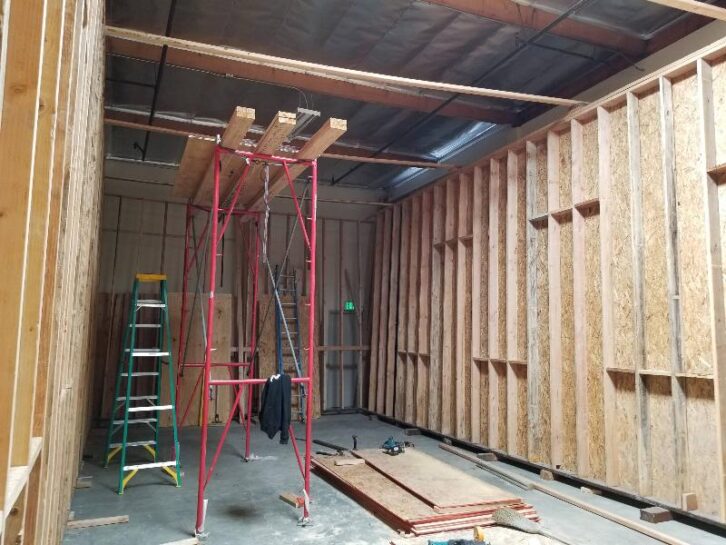
THE WALLS GO UP:
I wasn’t there to witness it, but somehow four burly laborers with a 3-ton floor jack, and likely with some hefty pry bars as well, got the two side walls (the longest and therefore the heaviest) in place on the anchor bolts. Add a bunch of anchor plates and hefty nuts, and the walls are in position and locked down. A big job requiring a lot of muscle power….
The wall at the front, or speaker end of the room, is much easier to install. The electrical panel and sprinkler equipment are in that area, with building codes requiring at least three feet of clear space around them for access. Plenty of room for our fearless tradespeople on their scaffolds to install the outer layers on this wall.
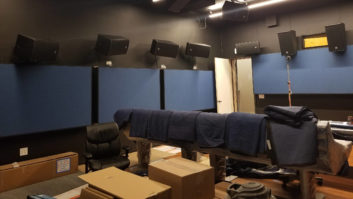
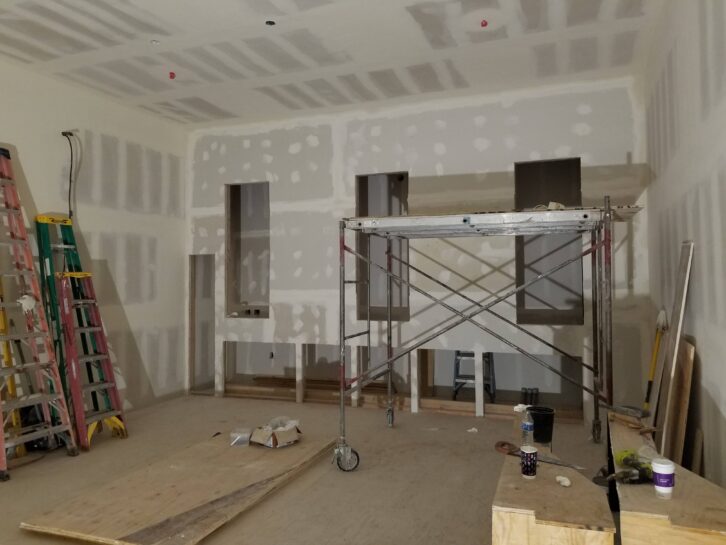
NOW THE CEILING:
Layering a ceiling is always difficult work, defying gravity with heavy, unwieldy panels. It’s not just a bunch of layers of drywall, as we so often see in common studio construction. My design starts with a layer of 3⁄4-inch plywood, followed by a 1-3/8-inch layer of QuietRock 545. We then put in another layer of 3⁄4-inch plywood, finishing off with a layer of 5/8-inch drywall, with construction adhesive between each layer. And the secret ingredient? The final layer goes on with drywall screws every 4 inches. This may sound unconventional, it may seem extravagant, but it brings an uncanny rigidity to the walls.