With the release of Cubase 9.5, an update to last year’s version 9.0, Steinberg has finally taken the plunge and gone all in with 64-bit processing. If you have 32-bit plug-ins that you can’t live without (Native Instruments B4, in my case), you’ll need to pick up J Bridge or another piece of 32-to-64-bit conversion software when moving over to Cubase Pro 9.5 or the less expensive and slimmed down Artist and Elements versions of the DAW.
I’ll come right out and say it: I’m a sucker for beautiful screen sets. Cubase always had a battleship gray project window, making me feel like I was climbing into a submarine every time I opened the app. All that has changed in v9.5. Color themes are now provided, and you can further augment with other color settings (some of which, to be fair, were available in earlier versions). Doing so will not improve your time as you input that hi-hat part, of course, but it may make the process of continuously redoing the performance more enjoyable.
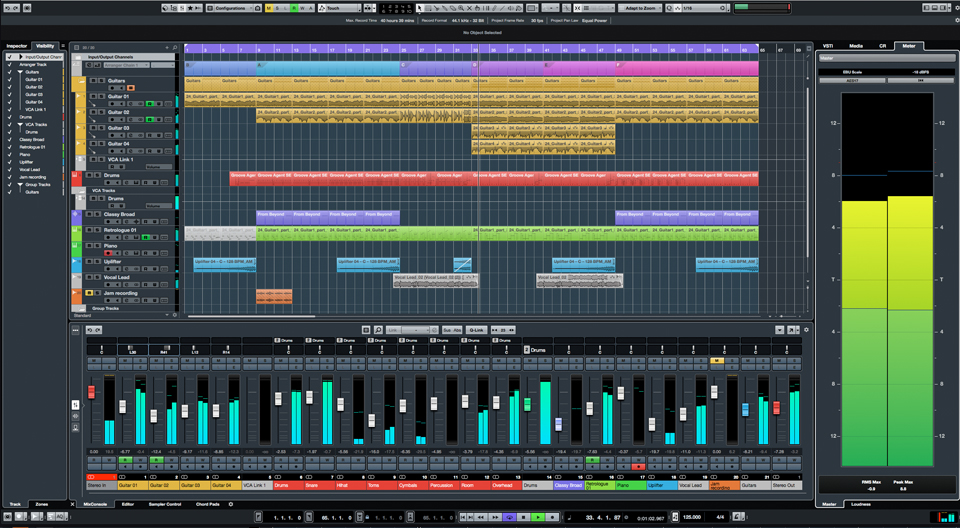
Staying on the visuals, it may take some time to figure out how various components are now nested inside the app. If you have a dual-monitor setup like I do and have used Cubase as your DAW for a while, you may have dragged the project window across both monitors and then set up the Transport window, Mixer and Time Display—whatever you need for your workflow—across this field. You can still work that way, but the docking aspect of 9.5, particularly its bottom quadrant, encourages the user to keep the project window on one screen and place other elements on the second monitor. Once you get used to the shift, you’ll realize this is a much simpler and more elegant way of working.
The Project window is divided into three sections. On the left you’ll find the trusty old Inspector window; there’s nothing new here. The main tracking area will also be familiar to anyone who has used Cubase before. But in the new area on the right side of the Project window, you can select one of four fields for display: VSTi (the VST instruments you’re currently using), Media, Control Room and Meter.
We don’t have space to go into all of these areas in detail, but let me say this about the Media field: I have always been a software snob and have never bothered much with the HALion instruments that ship with Cubase. Cubase 9 added a number of new instruments that are accessed through the Media tab, and these instruments themselves are worth twice the cost of the entire product.
Review: Steinberg Cubase Pro 8, by Jami McGraw, June 2, 2015
If you go back far enough with MIDI or have studied its history, you know that back in the day, manufacturers like Roland and Korg would release a hardware synth in the $4,000 to $5,000 range and then come out with a stripped-down version for about $2,500. Remember the Korg Wavestation? It initially shipped with a keyboard and then as a standalone box. That was one great piece of technology. Call up the new Flux software inside HALion Sonic SE. Get it? And Flux is only one of the new instruments included in 9.5. The drum and MIDI loops are also quite useful, particularly if you’re a jingle composer who has to have a track out the door in three hours.
To be fair, there are some third-party plug-ins whose quality isn’t matched in this app. The internal convolution reverb is adequate, but to me, nothing compares with Altiverb. And if you create detailed string parts, you’ll want to pick up one or more of the exquisite libraries available. But if you’re working on a tight budget, you’ll get mileage out of most everything that ships with Cubase 9.5.
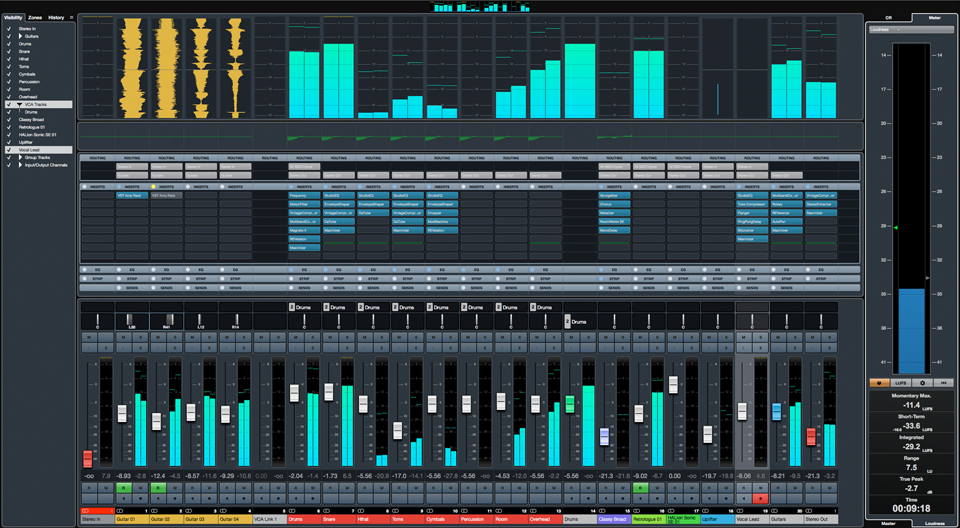
We won’t go into the various metering options offered over there on the right side—you can check out the online videos—but we do need to mention the Control Room tab. If you’re tracking a band or other ensemble, you will love the ease of use.

Direct Offline processing is now offered, and it’s a real CPU-saver. Steinberg didn’t invent offline processing, but it’s great that they’ve wrapped it into Cubase. Say you want to put an explosive reverb around a single snare hit (you can think of a better example) but don’t want to allocate the resources required to keep the plug-in open. Just select the audio clip and the plug-in and process away. A tiny file is created with the insert applied while the original track is left in its pristine state. Now turn off the plug-in.
Getting back to the visual aspect for a moment, you’ll notice three tabs in the upper right corner. These are Show/Hide buttons that let you decide what’s visible at any given moment at the very bottom of the Project window. If you choose the middle tab and select Show, a field opens. Within it are tabs that let you choose which of four fields, including the sampler, is in view.
Review: Steinberg Cubase 7 DAW Software, by Jami McGraw, March 1, 2013
The sampler has a new feature that lets you convert a MIDI part directly to audio and have it nested within the sampler for tweaking, after which it can be dragged into an audio track. Very clever, but for some reason I had difficulty getting this drag-and-drop feature to work consistently.
Metronome options have been significantly expanded, and am I happy about that! New click sounds have been added. (The old click felt like a tiny hammer going off in the brain, four to the bar.) The old click is still there as an option, but you’ll probably want to replace it with a side stick or hi hat, or import a sound of your own to use instead.
I did face one oddity, when all of a sudden I couldn’t get the metronome to stop pounding away during playback. I checked its settings and saw that I had properly set the metronome to play only while recording. I scoured through the online manual but couldn’t find any explanation of why this was occurring. Fortunately, I have access to Greg Ondo, Steinberg’s resident genius, and he told me that there is also a metronome button in the Control Room, which, it turns out, I had inadvertently turned on at some point.
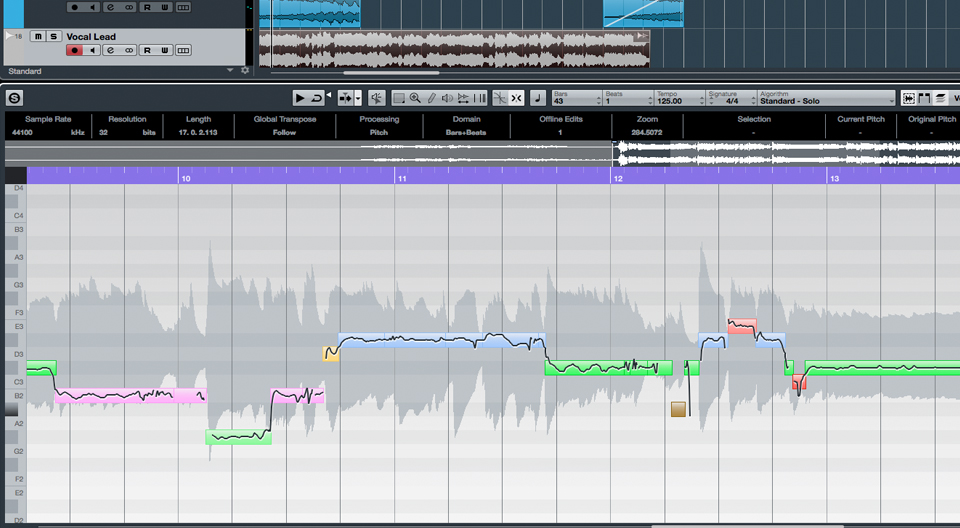
One big improvement—one I’ve been asking for—involves quantization. You can now set up just about any quantization grid imaginable. I write music that has some fairly complex rhythmic textures—7/16ths in the place of four, for example, or five quarter-notes fit into the duration of a half-note. In the past I had to calculate where the notes fell and drag each note to its proper place, with some randomization thrown in for good measure. I can now create grids for these oddities and save them as presets.
Review: Steinberg Cubase 6, by Troy “Atom” Frank, July 1, 2011
There are a number of other important features that Steinberg has added into its flagship DAW, including spot automation, a bump up from eight to 16 insert slots (will you ever use this many?), Bezier curves for more detailed automation writing, and an Adapt to Zoom feature, all explained in detail in videos on the company website. Cubase 9.5 also has a number of mastering presets. If you’re doing radio or TV work, having these presets taper your 2-bus output should be quite helpful.
That brings us to the issue of 32- versus 64-bit processing. Cubase switched to 64-bit memory addressing with version 9.0, and a 64-bit floating-point mix engine (for processing) was introduced in 9.5. In the mid-1990s, when sampling rates were going beyond 48 kHz, I went to a shootout at one of Manhattan’s top recording studios. Performances of a top-level jazz group playing in a studio and an orchestra performing in a concert hall were captured at 48, 96 and 192 kHz. I remember the orchestra recordings quite well. The differences that I heard were in the tail end of a bell tree, the first violins playing harmonics and … well, I think that was it.
Want more stories like this? Subscribe to our newsletter and get it delivered right to your inbox.
So, to tell you the truth, operating as I do out of my home studio using MIDI almost exclusively, I’m not in a position to judge whether the move to 64 bits is going to make a difference in your sonic life. Again, I would love to hear recordings of Ron Carter playing the double bass, say, a timpani roll, and a soprano singing the “Queen of the Night” aria from The Magic Flute, played back in a sonically pure environment, processed at both 32 and 64 bits. Until then, for me, the jury is still out.
I’ve played around with lots of software in my time and upgraded many applications. Without question, the move from Cubase 8.5 to Cubase 9.5 Pro is the most outstanding upgrade I’ve ever come across. The new feature set is stunning. If you’re a Cubase user working with an older version and haven’t made the move, you must do so.
If you’re new to the game and are thinking about purchasing a digital audio workstation for the first time, I’m not going to contrast or compare Cubase to any of the other excellent DAWs that are on the market. They’ve all proved themselves in very tough environments. I will say that, at under $600, Cubase 9.5 is a steal. I’m giving it six stars out of five.
Product Summary
Company: Steinberg
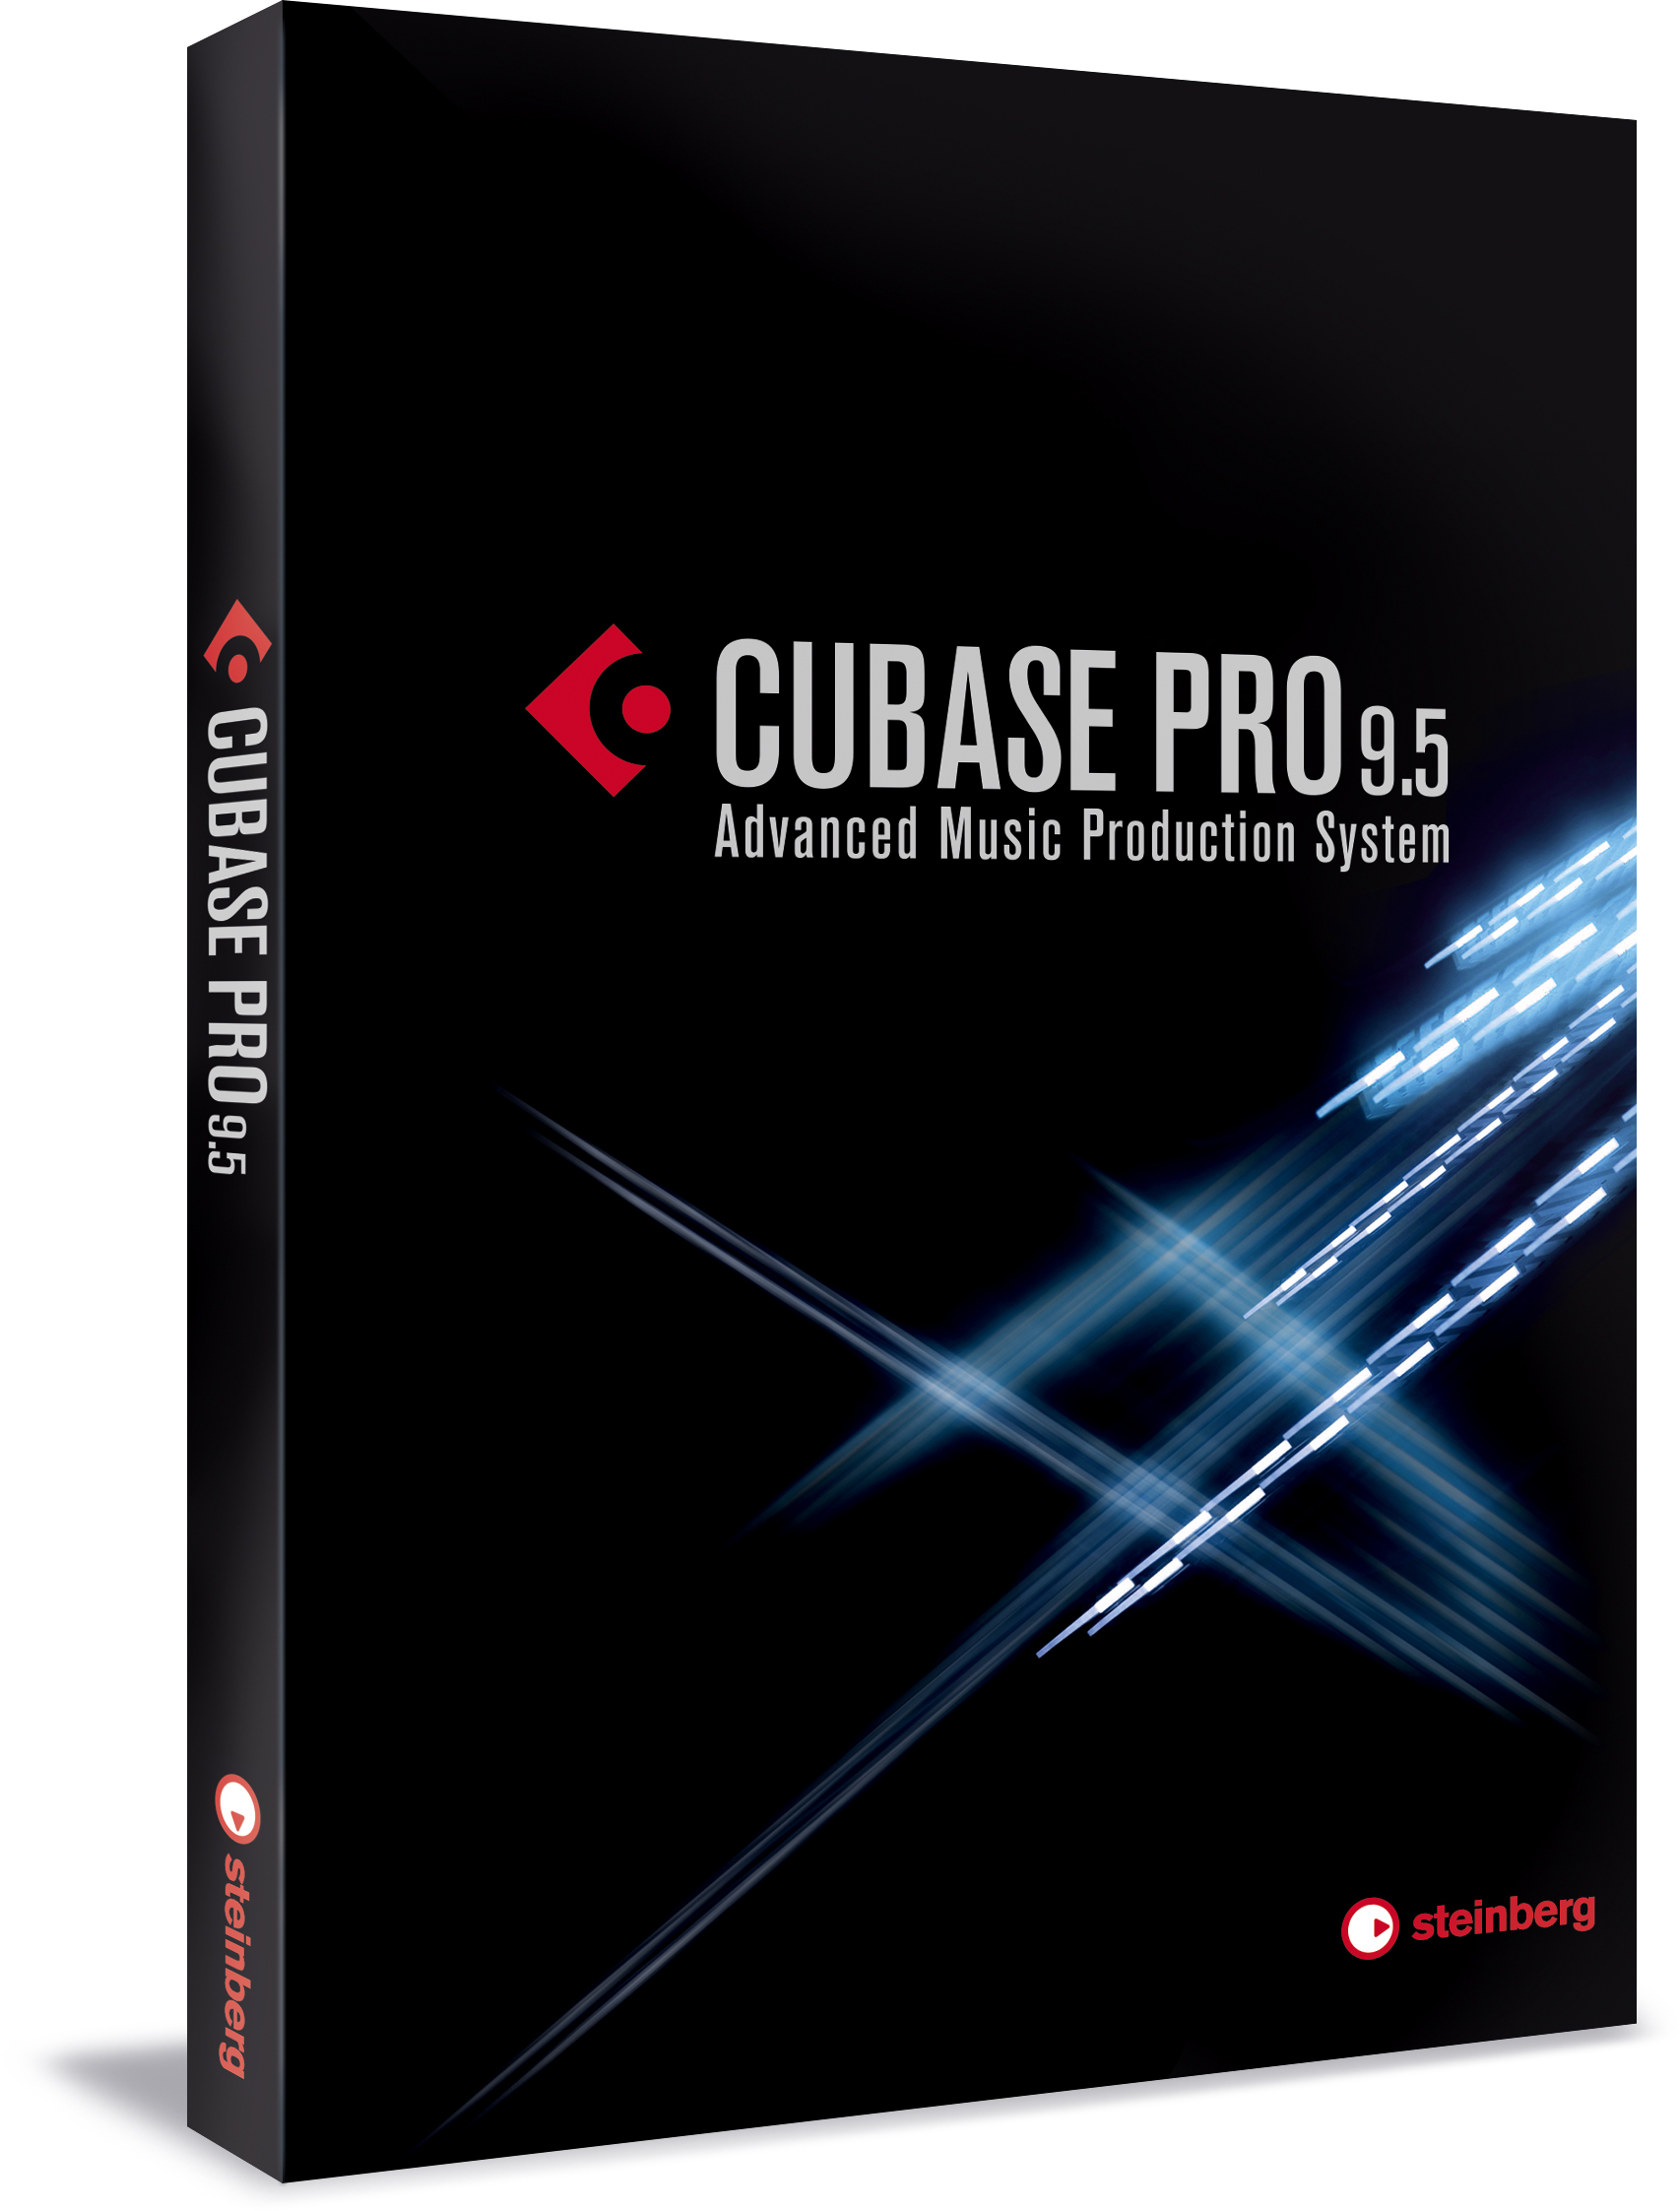
Product: Cubase Pro 9.5
Price: $579 (box)
Pros: Fabulous in almost every way.
Cons: Still waiting for the automatic backup feature to give the user the option to choose the disk or web area where he/she wants the backups to be saved.