In January 2022, Paul Massey, Oscar-winning re-recording mixer, began building a personal Dolby Atmos mix room near his Los Angeles home. Bruce Black, project acoustic designer, documents the process in this special ongoing series of Mix Field Reports. Don’t miss Parts 1, 2, 3, 4, 5 and 6!
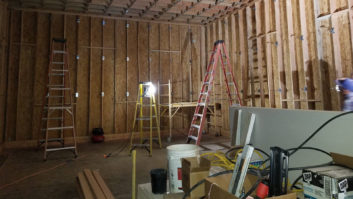
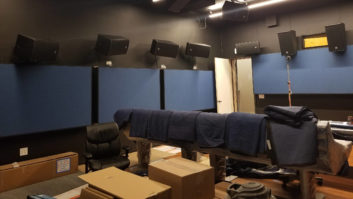
So Paul Massey’s mix room is starting to look like a real mix room. We have a floating floor, with carefully isolated and layered inside walls on top of that, and an isolated ceiling—all with the outer shell creating a room-within-a room, with a 2-inch air gap between them.
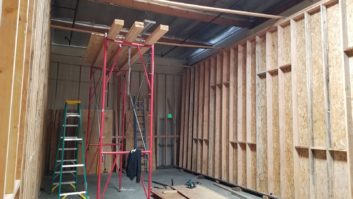
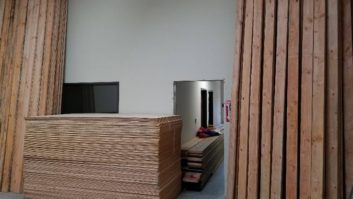
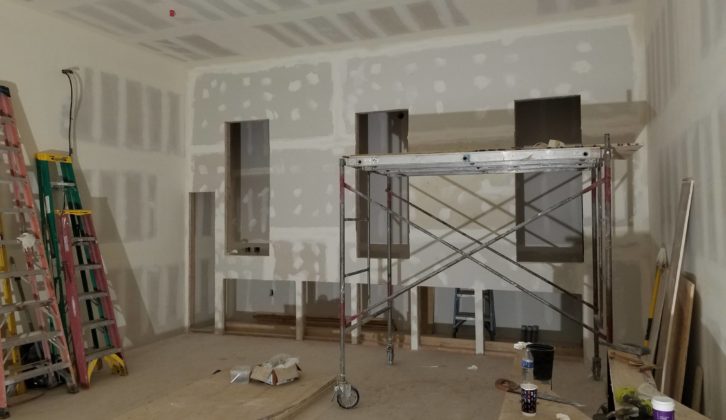
Our next task is the screen wall.
This will hold the perforated screen in position, provide alcoves for the speakers behind the screen to play through it, and create a small closet to house the speakers’ electronics, with space for speaker maintenance. But in designing and building this, there is one important thing to remember: Panel absorbers.
These are arge, flat panels that are occasionally added to absorb low frequency in a general, broad sort of way. More often, though, they’re room surfaces that unwittingly end up as LF absorbers. If these are low-mass, poorly restrained walls, they have unintentional and unexpected effects on the room’s LF response. Opps, didn’t see that one coming…
Panel absorbers suck up low frequencies. I call them broadband absorbers because they absorb a fairly wide range of low frequencies. While they are sometimes deliberately employed in room designs (not mine), to me they only bring problems. They absorb LF to an unknown depth, centered on an unknown frequency, and, due to inertia, their absorption is delayed, so you can’t measure their effect on a real-time analyzer. With these unknowns, and the broad range they affect, they can create low-frequency havoc.
If a screen wall is built without keeping all of this in mind, it becomes a large panel absorber causing LF issues that are as difficult to identify as trying to locate that one flanking drywall screw. And like I said, the good ol’ real time analyzer misses this, telling you (falsely) that all is well. But your ears do catch this, and they tell you that something is very wrong. Too bad they can’t also tell you what the problem is.
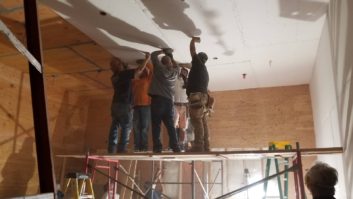
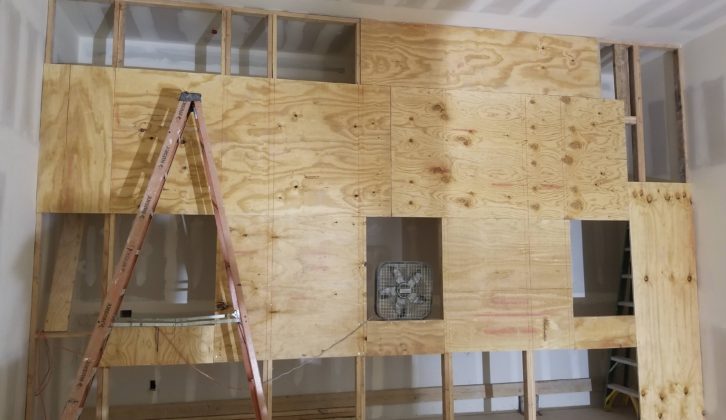
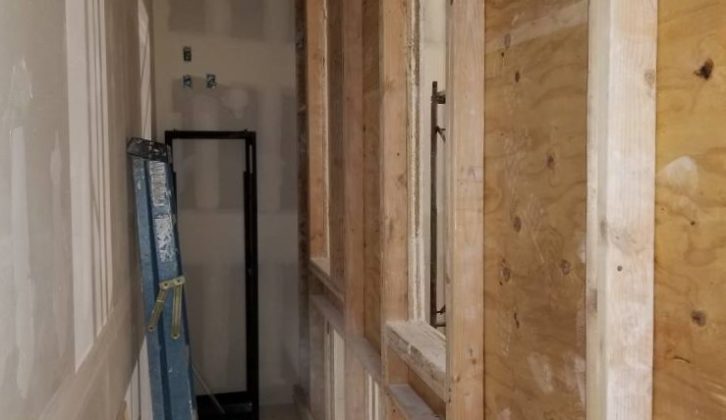
To prevent this, a screen wall must be very rigid, just like the other walls. Paul’s screen wall is built with robust layers similar to the other walls—a base of ¾-inch plywood, followed by two layers of ⅝-inch drywall, with a generous application of construction adhesive between all layers. And like the walls, the final layer of drywall gets attached with copious drywall screws.
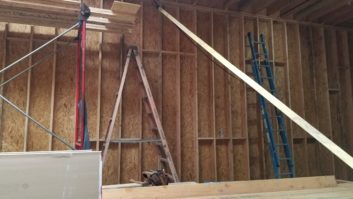
But with Paul’s room, we’ve added a secret ingredient. A number of 2 x 4 braces span the speaker closet and tie the speaker wall frame to the opposite wall, making it even stiffer. These are spaced so that they divide the speaker wall into dissimilar-sized sections. If any of the sections manage to vibrate, they will do so at different frequencies, reducing the effect on the room’s response.
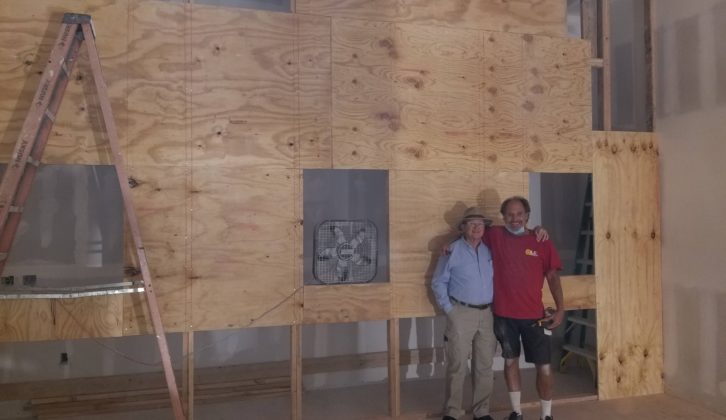
So now Master Builder Craig makes the cutouts for the speaker alcoves, and beneath them, for the subwoofers and Helmholtz resonators under the screen.
The what??
Helmholtz resonators. When controlling low frequencies in a room, it turns out the best results come from carefully targeting only the frequency peaks, and leaving the rest alone.
Broadband absorbers like panel absorbers or bass traps can’t do this. They suck up the good low end as well as the problems, and leave you with a low-end response that persists and is problematic. Still messed up, but in a different way. Maintaining integrity and gaining flatness in the low-end response requires a light touch—absorb only the naughty frequencies and leave the rest alone.
Helmholtz resonators provide this targeted low-frequency absorption. They’re like ported speaker cabinets with no speakers in them. Tuned to the peaking frequencies revealed in room measurements, these will flatten out the LF response in Paul’s new room, without also attenuating the frequencies that need to remain.
We place them alongside the subs below the screen speakers. This places the resonators’ ports as close to the floor as possible, where they’ll have their greatest effect.
This brings us another advantage, as well. With the subs below the screen, no heavy transients or rumbles from them will ruffle or disturb the screen, distorting the image.
Further down the road, the speakers will get installed and wired by the good and talented folks at Audio Intervisual Design (A.I.D.), along with all the technical equipment. For additional LF isolation, they’ll be placed on Sorbothane hemispheres to keep their cabinet vibrations from coupling to the room’s structure via the speaker alcove. If this energy makes it into the room structure, further LF damage will follow.
It’s pretty clear the screen wall has a big influence on the room’s low-end response, so it gets special attention in the design. Since the bulk of our perception of sonic quality is determined by the quality of the low end, it is wise to pay close attention to the things influencing it. As the project designer, I want to ensure Paul’s room is getting the best. Minutiae like this are what will add up to make it World Class.
Next up: installing the details begins. Treatments and consoles and speakers, oh my! And projection ports… and doors… and flooring… and wiring… and tech gear. The planets begin to align!
By the way, I realize that not all my methods are standard operating procedure, so please feel free to email me at [email protected].