In January 2022, Paul Massey, Oscar-winning re-recording mixer, began building a personal Dolby Atmos mix room near his Los Angeles home. Bruce Black, project acoustic designer, documents the process in this special ongoing series of Mix Field Reports. Don’t miss Parts 1, 2, 3, 4, 5 6 and 7!
Whew! Paul’s new mix room has become a bustling beehive of busy-ness! With the completion of the speaker wall, we now focus on all the little details that will put Paul’s room to work and make it world-class.
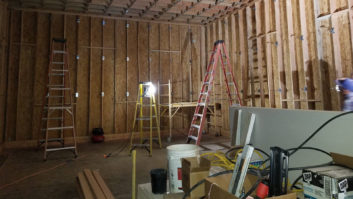
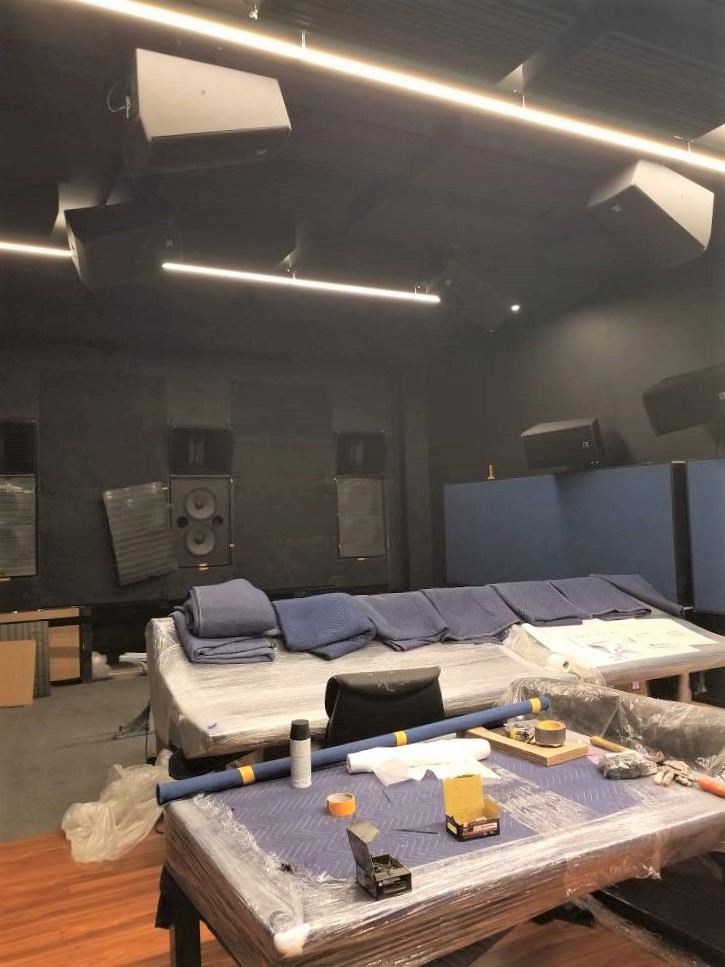
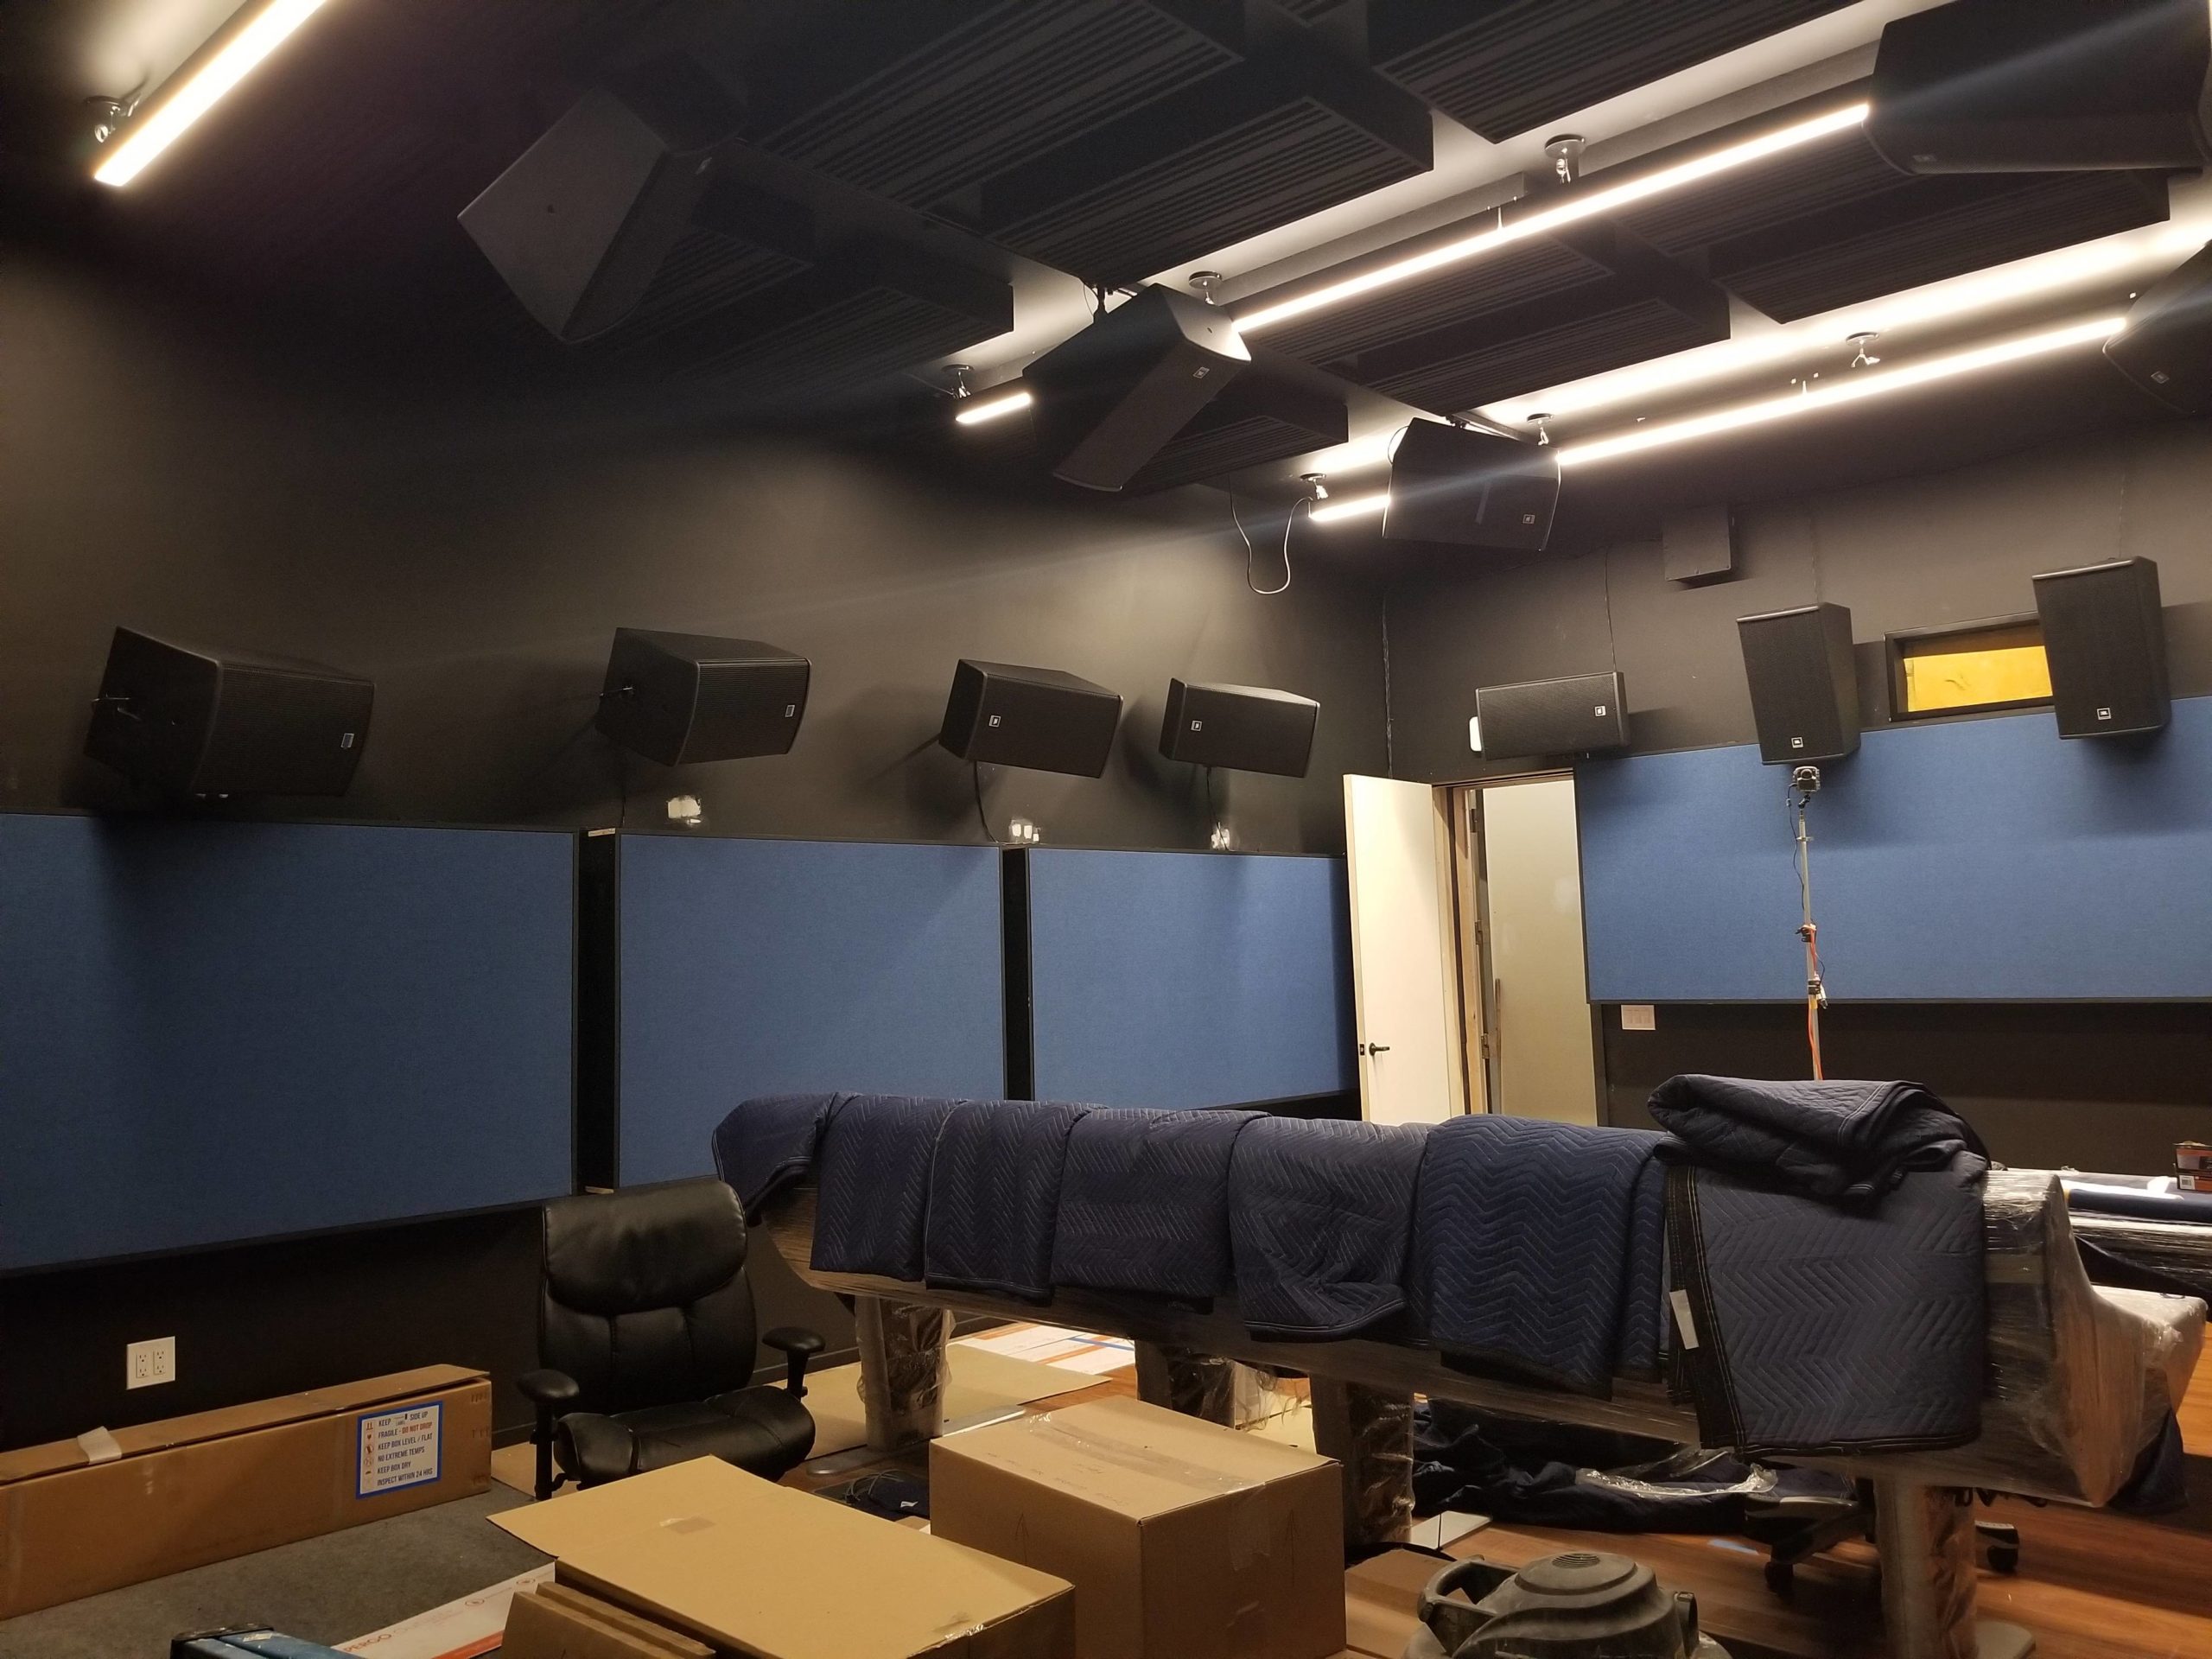
First, there’s nothing that compares to illuminating a dark room, so Craig’s team installs three rows of linear LED lights. These feature an additional upward-facing element, so they also cast diffuse light around the room. They’re each on dimmers and have adjustable color temperature, so Paul can dial them in to create a very comfortable workspace. It was welcomed by all to work in a properly lit space. “Let there be light,” and all that.
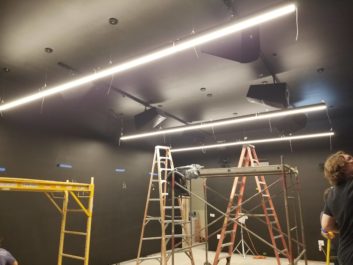
Meanwhile, the room received a coat or two of paint. Paul requested black, providing a low-distraction environment to help him stay focused. All the bits and bobs on the ceiling are also painted black, so they visually disappear and don’t distract.
Finally, we’ll add a bit of color by covering the wall treatments with a contrasting blue fabric that is acoustically transparent. It’ll be nice.
Over the course of designing new mix rooms, I’ve found that many mixers like to move their console forward or back until they find their sweet spot. I want Paul to be able to do this too. But with Atmos, Dolby’s specification for the distance and angle from the ceiling speakers to the mix position is pretty strict, as it must be for the full immersive experience.
Console Movement
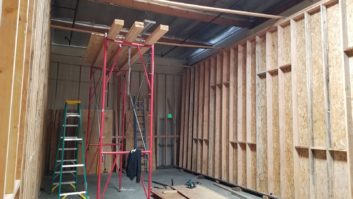
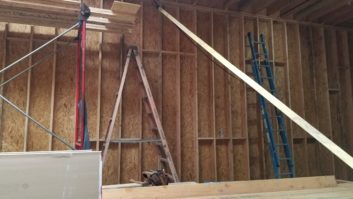
To enable Paul to move his console and still maintain these crucial requirements, I specified two runs of Unistrut channel on the ceiling to hang the ceiling speakers. They can now be shifted to their correct
position if the console gets moved. The structural engineer designed the support of the ceiling so it could handle the heft of the speakers, as well as the high isolation ceiling itself (design STC 84, and TL of 60 dB at 100 Hz), so all hanging things will remain where they are put.
While all of this is going on, the HVAC team installs the mini split air conditioner. These units can provide heating as well as cooling, but usually mix rooms like Paul’s only need cooling. Nice chilled air to work in during those lengthy mixes, especially with the long, hot Southern California summers; simple but crucial…
Meanwhile the crack team of installation and integration technicians from Audio Intervisual Design, directed by industry veteran Jim Pace, descends upon the worksite. They have much to do, installing the ceiling speakers, measuring off the surround speaker positions, installing the speaker brackets, and eventually mounting all the speakers themselves. They also start running all the technical and low-voltage wiring.
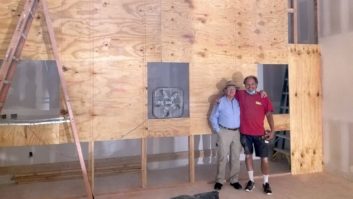
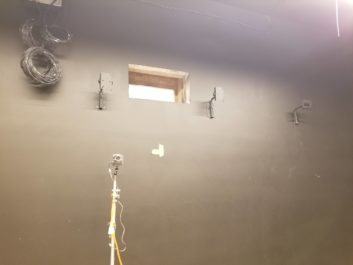
Every good film mix room requires picture projection (duh…), so Master Builder Craig’s team builds a video projector platform outside the outer room’s rear wall and cuts an opening for the projector port. To keep the port from being a path for the room’s sound to escape, both the inner wall and outer wall get well-sealed, wood-framed glass projection ports—one for each wall. We need to be good to our next-door neighbors.
Acoustic Treatment
And now it’s time for the treatments. We’re using a combination of custom QRD diffusors designed by yours truly, along with the tuned Helmholtz resonators mentioned before, and some good ol’ absorption.
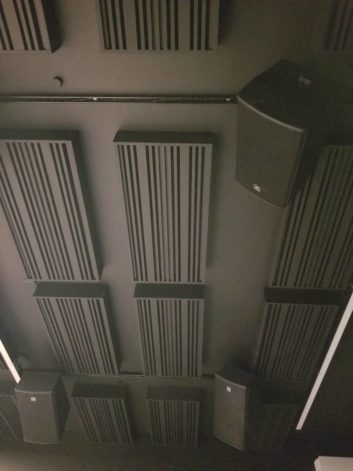
The speaker wall gets covered with Linacoustic RC duct liner from just above the subs and resonators to the
ceiling. This is a fiberglass insulation with an acoustically transparent membrane, allowing it to be exposed to the room directly without shedding any fiberglass particles. It’s designed to be used in air conditioning ducts without introducing particles into the airflow. It works well for our application as well, and its flat black color helps the picture pop out.
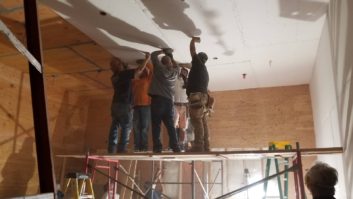
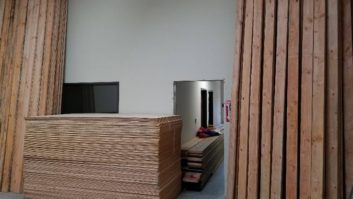
Next, Craig’s team installs 24 of the custom QRD diffusors, painted black, on the ceiling. This room surface is often overlooked, and yet it is the largest acoustically reflective surface in any room. Ignore it at your sonic peril.
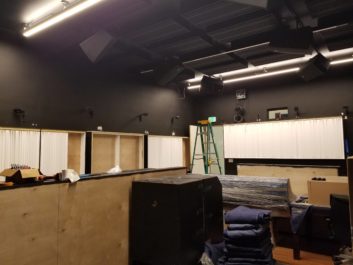
Craig now builds frames to house and dress up the acoustic treatments on the side and rear walls. The sides get mostly diffusion with a splash of absorption (provided by the old stand-by, Owens Corning 703), while the rear wall gets a cluster of six diffusors. All this then gets covered by the acoustically transparent blue fabric.
With the frames installed, stuffed with acoustic treatments, and covered with fabric, the AID folks wire up all the speakers and tech gear.
The Helmholtz resonators can be sized to fit into whatever space is available, and then are tuned to the desired frequency by adjusting the port size. So how do I know what frequency to tune them to, and where to put them? This much-needed data comes from an acoustic analysis. I test and measure the room using software that gives me very detailed insights.
Acoustic Analysis
The most useful graph is the waterfall graph. This shows me what frequencies the room resonances (“modes”) are at. I tune the resonators to the most significant ones.
I then note which resonances are at the very top of the waterfall graph, the earliest in time, and which ones are further down the waterfall’s slope, later in time. Yeah, time is one of the most overlooked characteristics in acoustics, and yet it’s one of the most important.
The resonators for the earliest frequencies are installed under the screen, where they’re closest to the sound sources—the speakers. The resonators for the later resonances go in the rear of the room, behind the client sofa.
For the rear wall, Craig built a single device with four separate cavities for resonators. This allows for four different frequencies, however I tuned them to three. One particularly unruly frequency gets two resonators. Further testing will expose the need for any further resonators.
Another useful graph is the decay graph. Going back to the panel absorber business, this graph shows me if any wall or ceiling panels are vibrating sympathetically. A vibrating panel will create a dip in the response between 80 Hz and 130 Hz., but not until after 100 milliseconds. or so; that’s inertia for you… This doesn’t show on an RTA or a frequency-response plot, but it does in a decay graph. Our testing shows all to be well.
And with this, the room’s low-frequency performance has been suitably tamed. Voila!
Testing Signal
Meanwhile, Paul’s Harrison console is unwrapped and put in place. The AID experts complete the wiring, and test the console, the speakers, the Pro Tools rigs, and the related gear in the machine room. Once everything has passed inspection, Dolby stalwart Andy Potvin comes and works his room tuning magic. What a guy!
And now, that magic moment everyone has been laboring toward since Day 1 has arrived. The room is complete and Paul starts running the room through its trials.
Be sure to check in for our Epilogue—the next and final Field Report of this journey through the process of building Paul’s new mix room. We’ll do a final acoustical analysis, perform some listening tests, and make sure his room is ready for him to do what he does best—mix major motion picture sound in a world-class mix facility.