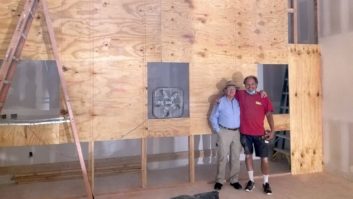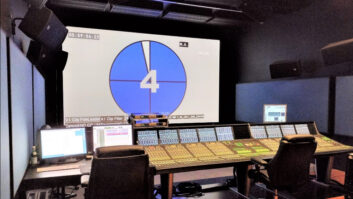
In January 2022, Paul Massey, Oscar-winning re-recording mixer, began building a personal Dolby Atmos mix room near his Los Angeles home. Bruce Black, project acoustic designer, documents the process in this special ongoing series of Mix Field Reports. Don’t miss Parts 1, 2, 3 and 4!

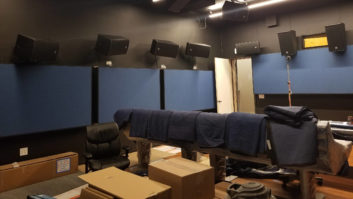
With the outer room’s cap now in place, the Massey Mix Room is starting to look like a usable space. Kind of like a great big block house. Castle Massey, if you will. Or Chateau Massey, if you speak French.
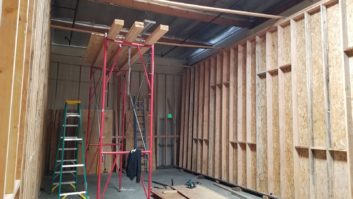
Now we turn our attention to the inner room.
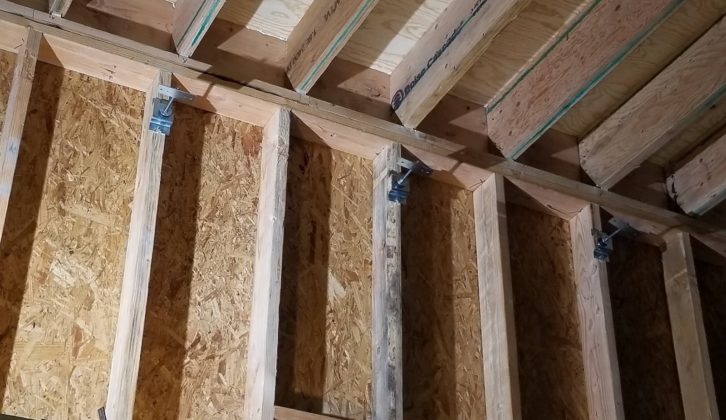
This is where the bulk of the isolation of Paul’s workspace is achieved. We now enter the realm where all the pieces must come together in the proper order, with close, careful attention paid to the smallest of details. For example, a single misplaced drywall screw can ruin this room’s isolation. Does this sound like an exaggeration? Rubbishy nonsense or a bushwa? It isn’t.
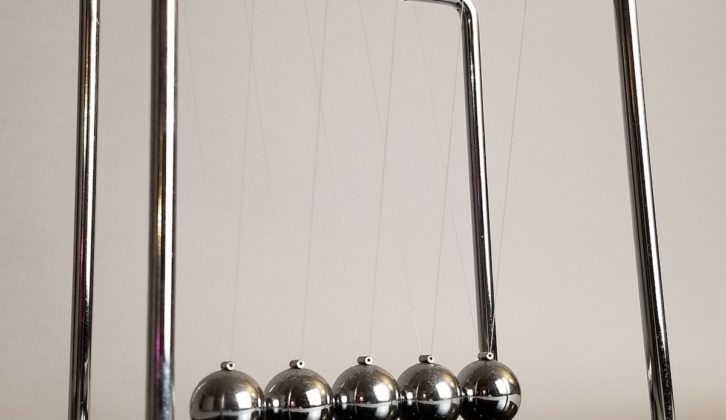
Any solid thing transfers sound energy very efficiently. This energy can then excite a wall panel in another room, essentially turning it into a speaker. It works like the old executive toy called Balance Balls, a.k.a. Newton’s Cradle. So a drywall screw connecting two otherwise isolated structures transmits the structure-borne acoustical energy, canceling out any isolation there otherwise may have been. All the painstaking labor and expensive specialty hardware used to build the room is then wasted by a two-cent screw. There’s a name for this kind of a boo-boo: flanking. Finding the one flanking drywall screw in a room filled with drywall screws is the perfect embodiment of the needle-in-a-haystack metaphor. It’s far better to be careful in the first place and not make that mistake.
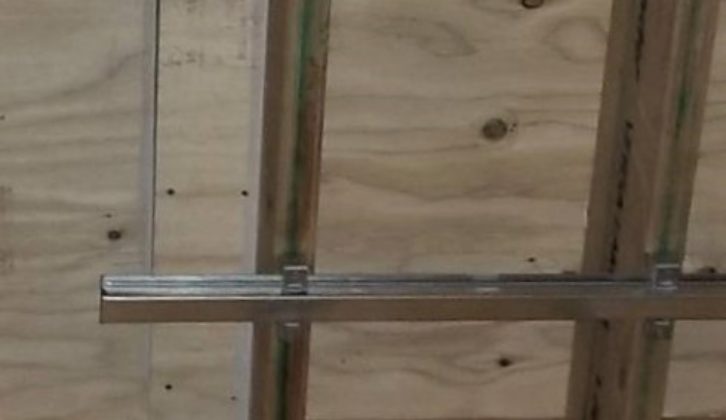
The team and all of us are in the proper mindset. We’re going to be scrupulous. We’ve ordered our isolation hardware – hat channel isolators for the ceiling, partition isolators for the walls, and a floor isolation system for the inner room to “float” on. Everything is in local stock, or so they tell master builder Craig as he hands over the money.
Opps. It turns out it not in stock locally. In fact, some parts haven’t even been made. They have to be fabricated, then shipped in from the other side of the country. At least a week’s delay, while Paul has a client pushing him to begin a mix in a few weeks. The pressure is on. (The mix happened, but unfortunately not in Paul’s new studio.) In construction, there will always be surprises and things that don’t go according to plan. Always.
The manufacturer fast-tracks everything, and a week or so later, large, heavy boxes appear at the door, and our intrepid team dives back into it.
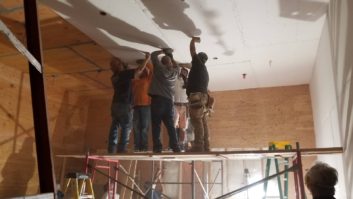
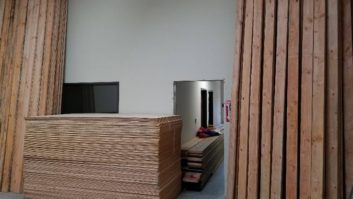
The inner walls will be tilted up, once again like the outer walls, so the inner partition (wall) and ceiling isolators need to be installed first. This will be followed by the floating floor. The partition isolators screw to the outer wall’s frame, with threads and a bracket that stick into the room around 6 inches at eye- and knee-level. A person needs to be very careful when near these. Pain and misery reward negligence.
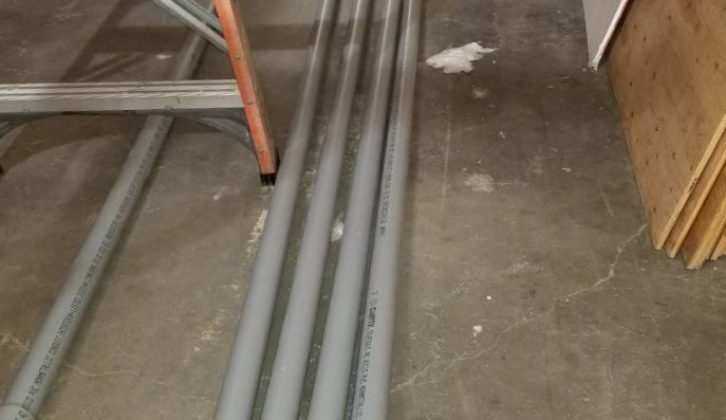
With these in place, we continue on by laying in the conduit for cabling to the console and to the speaker closet behind the screen. Conduit is so much more elegant than laying the cables across the floor. The conduit was placed on a bed of fiberglass insulation to dampen any vibrations that might transmit down them structurally.
The scene is now set to install one of the most crucial components of keeping inside sound in, and outside sound out of Paul’s new mix room – the floating floor. I’ll cover this, and the wall layers in the next Field Report, so be sure to check it out.