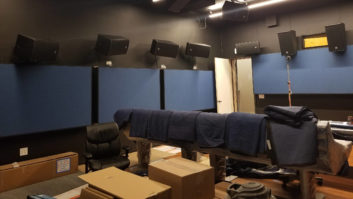
In January 2022, Paul Massey, Oscar-winning re-recording mixer, began building a personal Dolby Atmos mix room near his Los Angeles home. Bruce Black, project acoustic designer, documents the process in this special ongoing series of Mix Field Reports. Don’t miss Parts 1, 2, 3, 4 and 5!

And now, on to Paul’s floating floor.
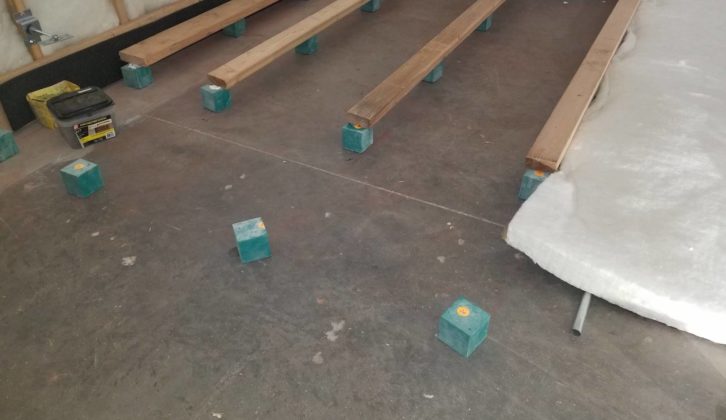
In order to create a fully isolated room, the inner walls need to sit on a structurally isolated floor—no flanking! The floating-floor manufacturer’s hardware engineers have calculated the type and spacing of the isolation pads needed to support Paul’s walls, equipment, visitors and everything else. Nice people, smart people; gives us peace of mind.
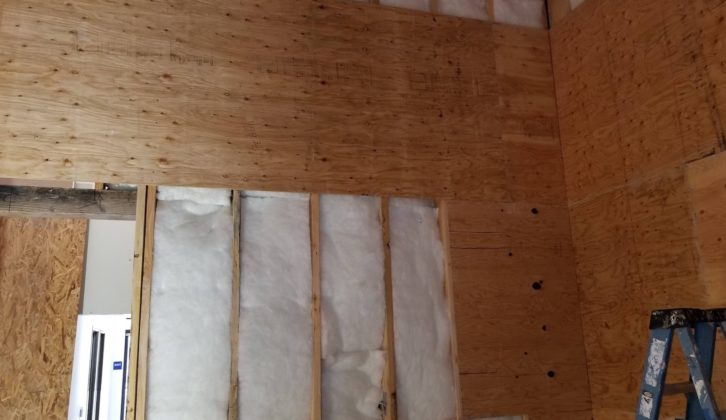
First, the bottom of the outer wall gets 2 x 6s on-edge around the perimeter, followed by a ½-inch isolation liner. This holds the floor in place, while preventing the floor’s 2 x 4 “sleepers” and layers of plywood from transmitting sound to the outer wall.
Next, the isolation pads, our version of “clouds,” are positioned and glued onto the slab. The sleepers are then laid on top of them, and the floor’s voids are filled with good ol’ Fiberglas insulation.
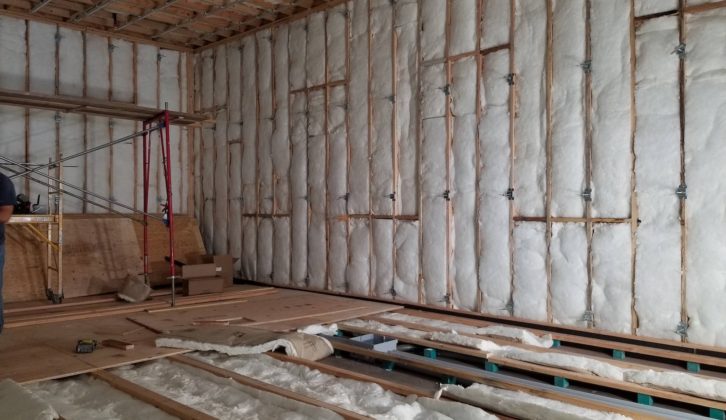
The actual floor—two layers of ¾-inch plywood—is screwed down with lots of screws to prevent squeaking, with the seams staggered and caulked. This overall combination elevates the floor a handy 6 inches above the slab. Handy, because that’s within the height range of a normal stair step. This also provides just enough clearance for the conduits, without them touching the floor or sleepers, and makes it convenient to build a normal outside door landing with an ADA-required ramp.
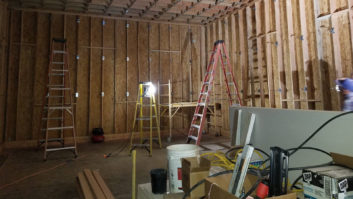
The inner wall frames are now assembled on the floor and tilted up into place. Unlike the outer walls, the layers of these walls can’t go on until the frames are in position, so up they go. The frame’s base plates get bolted to the plywood and sleepers along the floor’s edges, carefully avoiding any flanking to the outer wall. The inner wall frames then get screwed to the partition isolators; it’s all braced and locked in position now.
Continuing on, Fiberglas insulation is installed in the voids between the ceiling joists and the wall studs. This is a very important component of the room’s isolation.
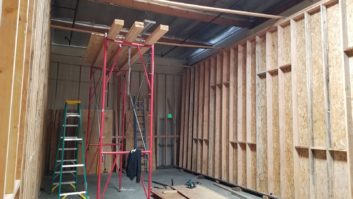
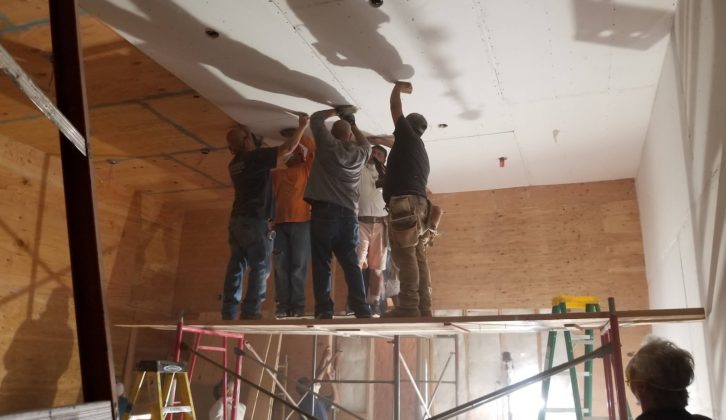
Now, the ceiling layers get installed. These will get screwed to the hat channel that is floated from the joists using the hat channel isolators shown in the previous Field Report.
Under normal circumstances, layering a ceiling is always difficult work, defying gravity with heavy, unwieldy panels. With Paul’s room, this is even more so. In this case, it’s not just a bunch of layers of drywall, as we so often see in common studio construction. My design starts with a layer of ¾-inch plywood, followed by a 1-3/8 inch layer of QuietRock 545. We then put in another layer of ¾-inch plywood, finishing off with a layer of ⅝-inch drywall, with construction adhesive between each layer.
Oh, yes, and the secret ingredient: The final layer goes on with drywall screws every 4 inches. This may sound unconventional, it may seem extravagant, but it brings an uncanny rigidity to the walls. There is a method to my would-be madness; perhaps someday I’ll explain.
The QuietRock is particularly difficult to install—it’s 200 pounds per sheet. That’s a lot to hold over your head while someone drives in the drywall screws. Including the walls, there are nearly 70 sheets to install. Craig and his intrepid team grunted, groaned and persevered, making it all happen. My hat’s off to them. But at least no one needs to go to the gym today, right?
The same layering scheme is applied to the walls, including construction adhesive between all layers. On each and every layer, the seams are sealed with acoustical caulk, because “airtight = sound tight.” Then comes the usual taping, mudding and sanding, and Paul’s new room is ready to finish off.
The next step in this process is constructing the screen wall. In my experience with many mix rooms, famous and otherwise, I’ve found simple, flimsy, thin screen walls are surprisingly common. And I’ve measured the damage these rickety constructs do to a mix room’s low end.
So for Paul’s room, I have designed one that doesn’t have this problem. Some novel techniques are employed to prevent this, and the initial testing of the room validates this design.
Continue on to Field Report 07 to see what we did.