
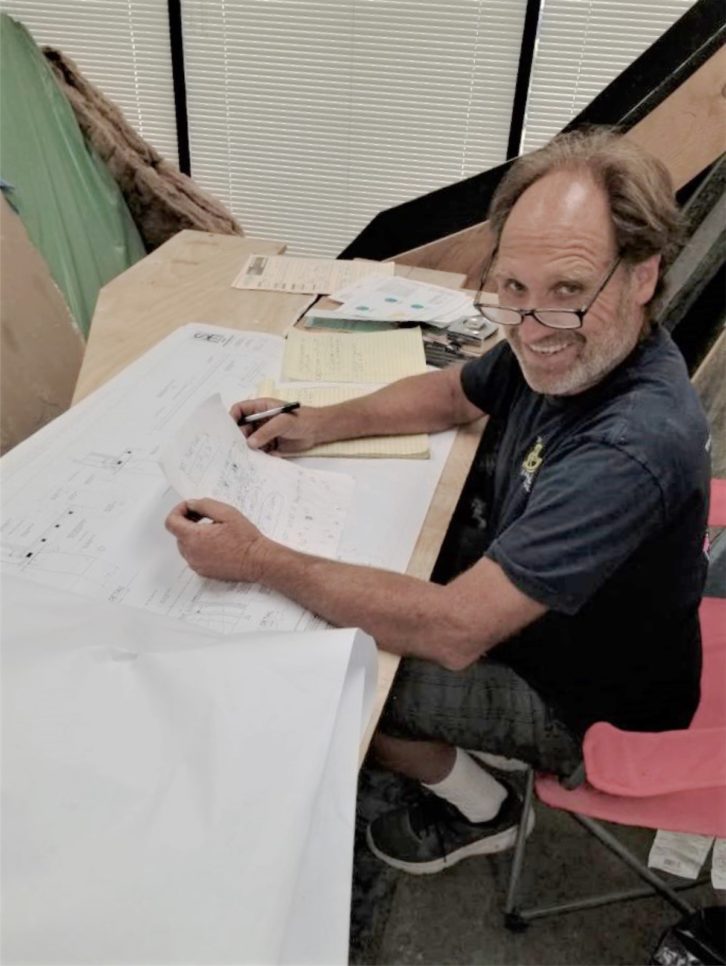
In January 2022, Paul Massey, Oscar-winning re-recording mixer, began building a personal Dolby Atmos mix room near his Los Angeles home. Bruce Black, project acoustic designer, documents the process in this special ongoing series of Mix Field Reports. Don’t miss Parts 1 and 2!
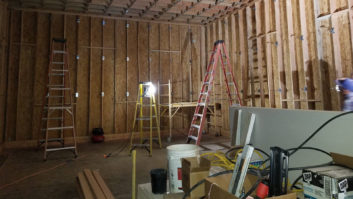
And now, fleshing out our version of the “blank palette,” the new mix room for Paul Massey will begin to take shape. Our first step of creating the room-within-a-room design begins with the construction of the outer room’s frame. Glancing around the construction site, I realize that before long, that new concrete foundation, all the crucial air gaps between the walls, and all the framework and special acoustical isolation devices will be buried within the carefully layered material and invisible, out of sight for as long as the mix room will exist.
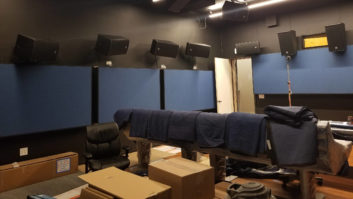
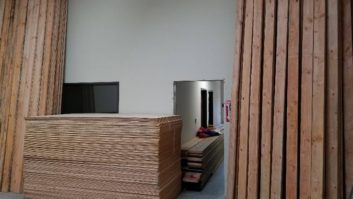
While the mix room for Paul Massey will consume nearly every square inch of the available floor space, that space will also be needed to store building materials and tools, as well as build the walls and everything else—that’s a lot going on in a seriously constrained space.
For starters, this means material storage and the assembly of the room’s components will all need to happen in the same space where the finished room will be constructed, all at the same time. Furthermore, storing materials outside is absolutely out of the question, where in the dark of night, sticky fingers will sneak in and spirit everything away. Nope, these requirements will all have to use the same space.
It’s sometimes difficult to visualize just how much lumber and other materials are needed to build a room like this, and just how much space is required to store all that stuff, even with staggered deliveries. This will be a complex ballet, with master builder Craig Alexander directing the show. It’s a real dance.
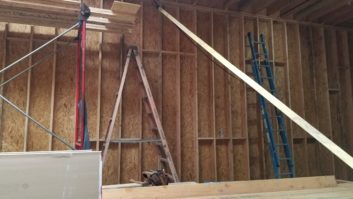
At first glance, building the wall frames may seem to be no big deal. Just do it the way it’s always been done, right?
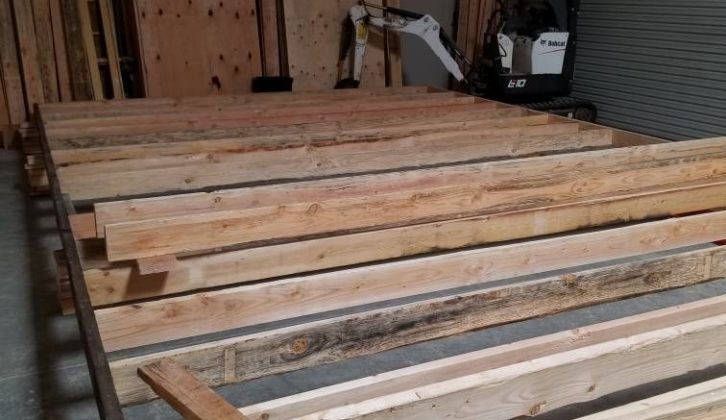
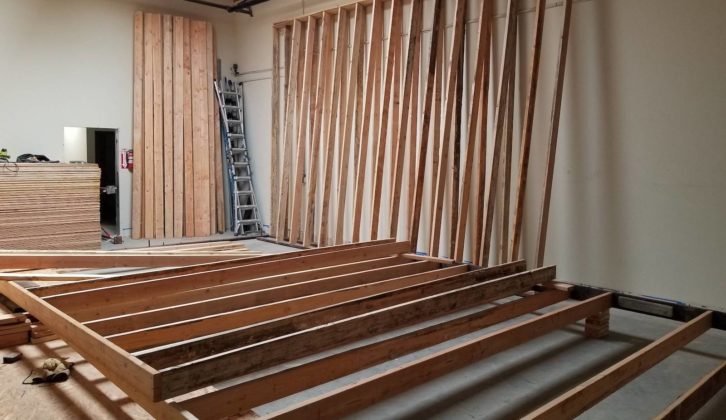
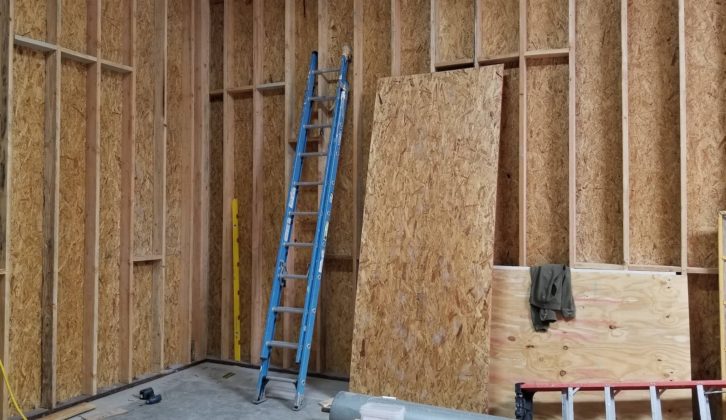
Normally the frames get built horizontally on the floor and tilted upright, and then its inside gets the drywall and everything. But in this case, for the best isolation, the frame is built and the outside of the outer frame gets the layers of OSB (Oriented Strand Board) and drywall. The final position will leave only a 2-inch gap to the existing wall—all the available floor space shall be used! That is not enough room for our intrepid tradespeople to install the outer layers. A conundrum. Hmmm…
Craig’s answer is to build the frames horizontally in the middle of the space, one wall at a time, using a layer of structural OSB to keep everything together. He then tilts it up on top of some 4 x 4 sleepers (short lengths of lumber on their side), with a 2- or 3- foot gap from the existing wall.
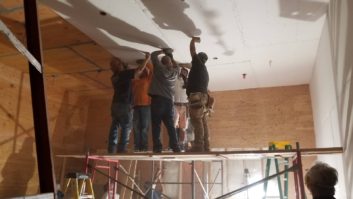
Next, the drywall layers get installed, and then the finished wall gets scooted along the sleepers into position over the anchor bolts and dropped down onto them. No easy task, as this is a 2 x 6 frame (not the more common 2 x 4) that is roughly 32 feet long and 15 feet high, with layers of half-inch structural OSB and drywall. To say this wall is heavy is an understatement.
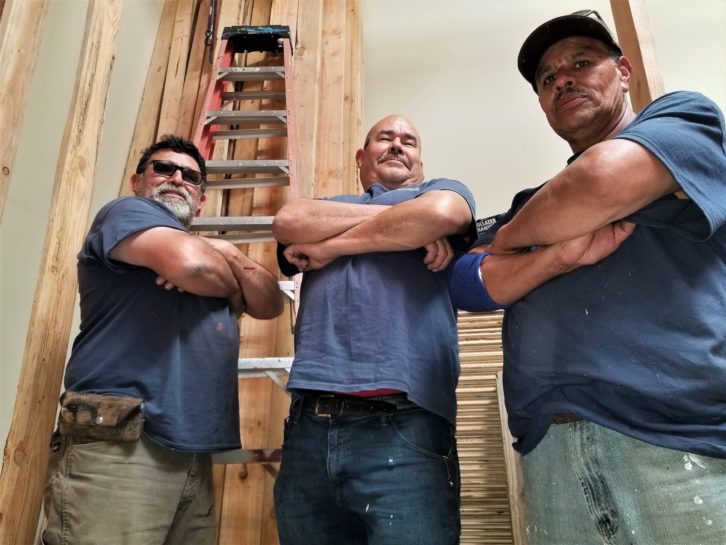
I wasn’t there to witness it, but somehow four burly laborers with a 3-ton floor jack, and likely with some hefty pry bars as well, got the two side walls (the longest and therefore the heaviest) in place on the anchor bolts. Add a bunch of anchor plates and hefty nuts and the walls are in position and locked down. A big job requiring a lot of muscle power—I’m sure these guys would take issue with me using the word “scoot” to describe getting the walls into place.
The wall at the front, or speaker end of the room is much easier to install. The electrical panel and sprinkler equipment are in that area, with building codes requiring at least 3 feet of clear space around them for access. Plenty of room for our fearless tradespeople on their scaffolds to install the outer layers on this wall.
The back wall is simple, too. There’s a 5-foot-wide hallway to get into Paul’s mix room, even more room for our tradespeople and their gear. This wall will not get all its layers installed until the room is nearly completed, as the materials for the inner room will need to be brought in through the openings in this frame to get into the space. Like I said, it’s an intricate dance.
This hallway will accommodate a platform for the video projector, and a ramp to enter at the level of the floating floor, as well.
The next step in the process of building the new Paul Massey mix room is to put the cap on the outer room. The joists get placed and the cap layers get screwed and nailed in place.